Accounts Receivable Invoice Entry
NOTE: Only proceed if Customer Master is setup.
-
Select Accounts Receivable
-
Select Invoice Entry
-
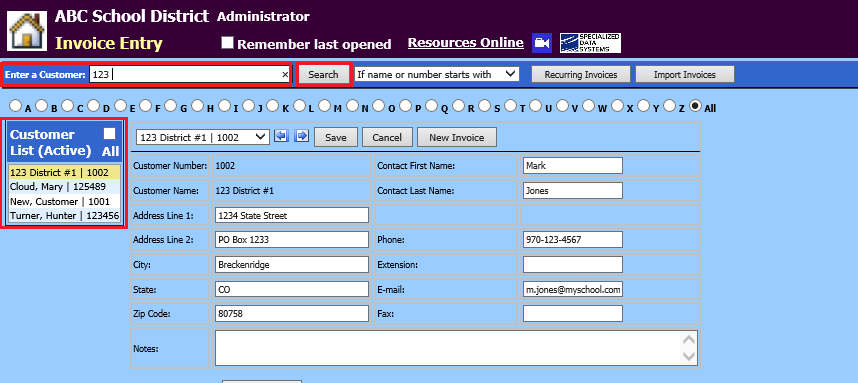
Select the customer by selecting the list down arrow below “Enter a Customer Name” or by typing in the first few letters of the name and Search.
-
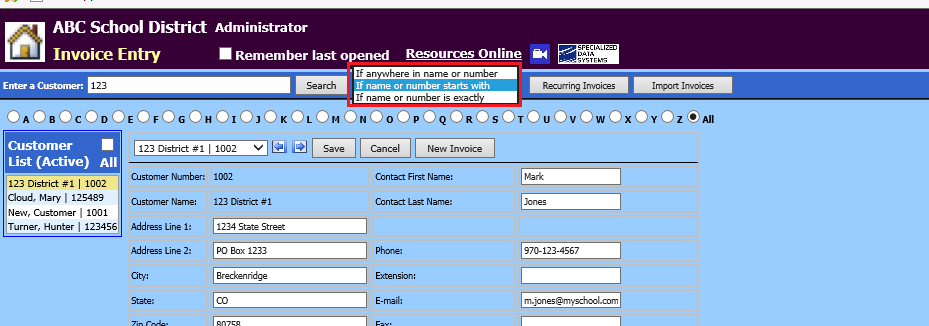
There are three choices in the drop down selection used in Customer searching. Make note of Customer Name as to not duplicate it. i.e. Mary Cloud vs. Cloud, Mary.
-
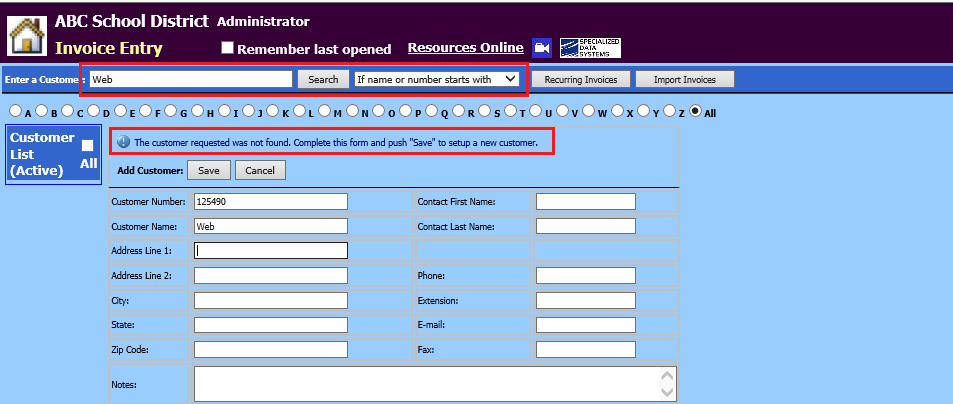
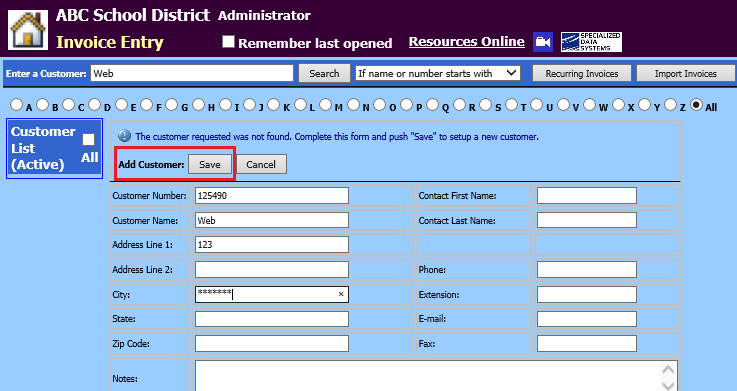
If the search does not display Customer needed, the system will promt you to enter the new Customer information and assign a Customer Number.
-
Select Save when fields are completed
-
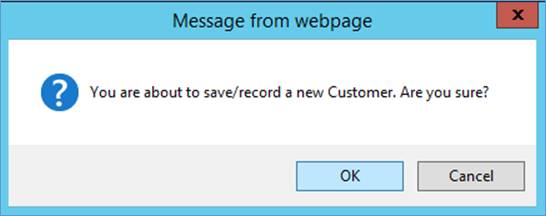
A system message will display, select OK
-
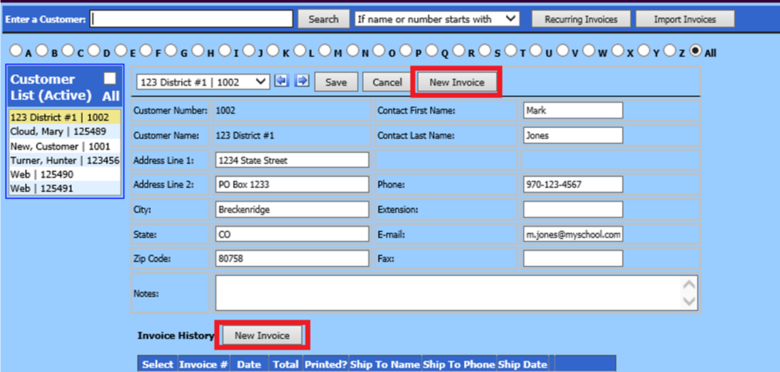
Once the customer number is system assigned the customer number and name can be edited/changed.
-
Select Save
-
-
Select New Invoice
-
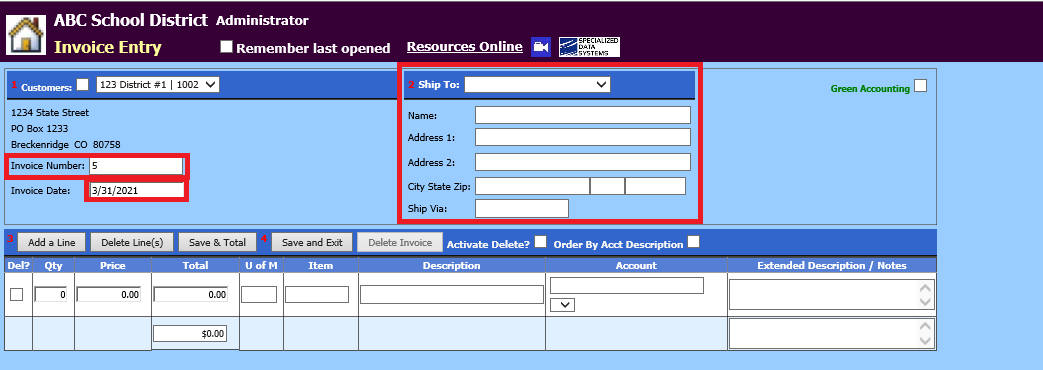
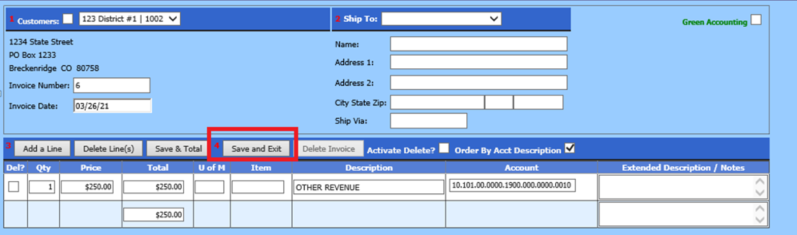
The invoice number is auto assigned. You can adjust this number, if needed.
-
Enter invoice date
-
“Ship To” section can be bypassed, as it is optional.
-
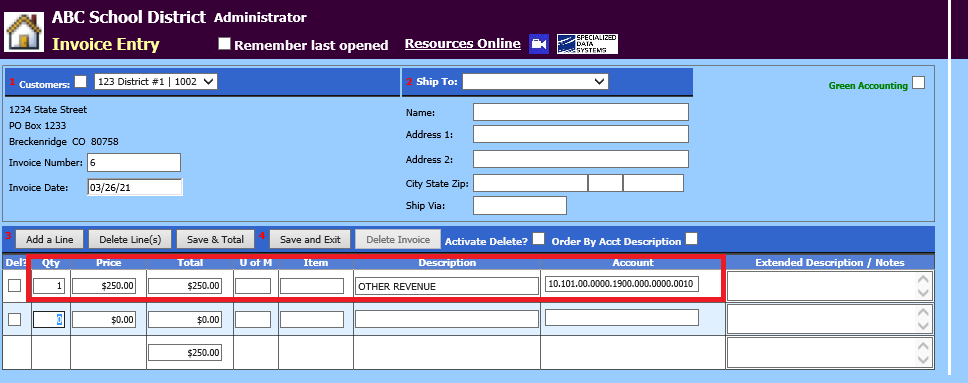
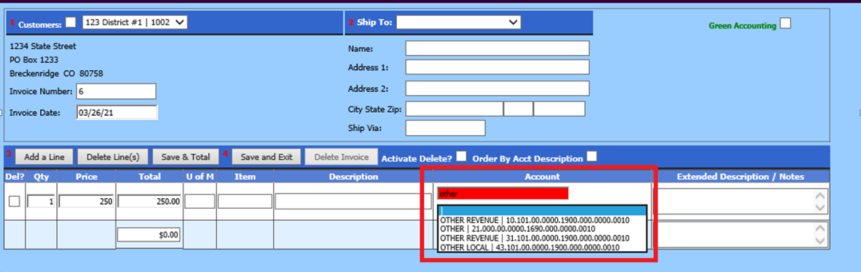
Enter quantity, price, description, (if description is bypassed, the account description will display) and account number.
-
The account number or account description can be entered (e.g. other) to search, select the correct account from the drop down selection.
-
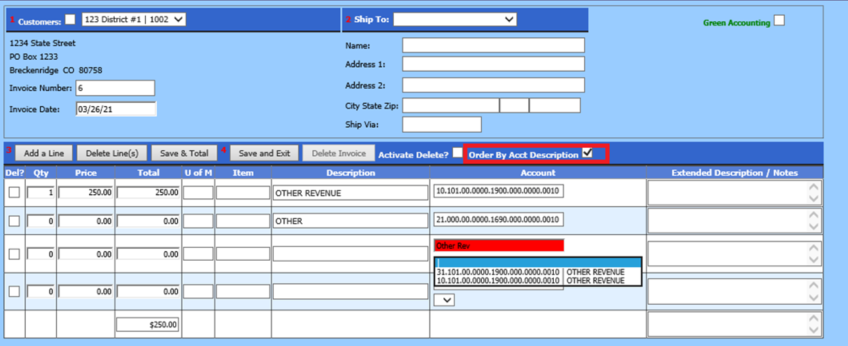
To display or search by description, check next to “Order by Acct Description”.
-
Monies applied to the account number will show as an “encumbrance” for the account
-
-
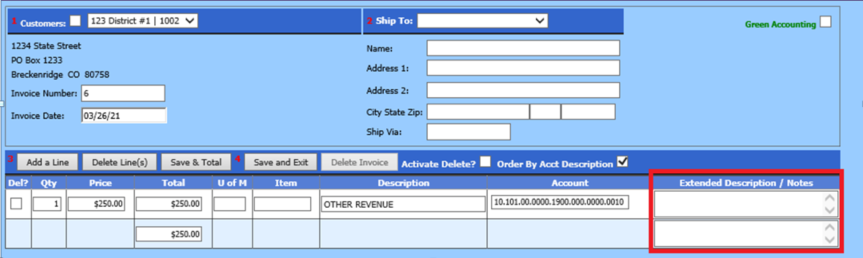
The expanded description/notes field is for additional use. Add additional detail regarding the invoice and why the customer is charged.
-
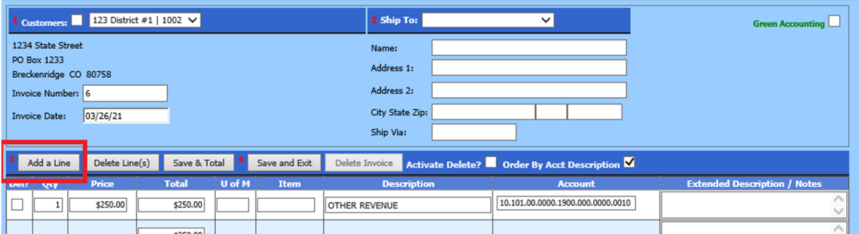
If multiple line entries, select Add a Line to enter in the next item.
-
When invoice is complete, select “Save and Exit”
-
If additional Invoices are to be entered, choose another customer and then select “New Invoice”.
